CATEGORY: CUSTOMIZED & MODIFIED
TOPIC: VALANCE REPLACEMENT Double-Follow-up
Posted: 30 Aug 2018 07:25 #13
Posted By: JohnD222 & jlsr
See Forum Post HERE
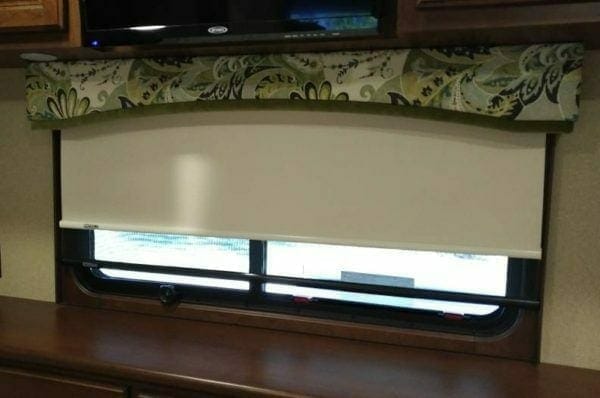
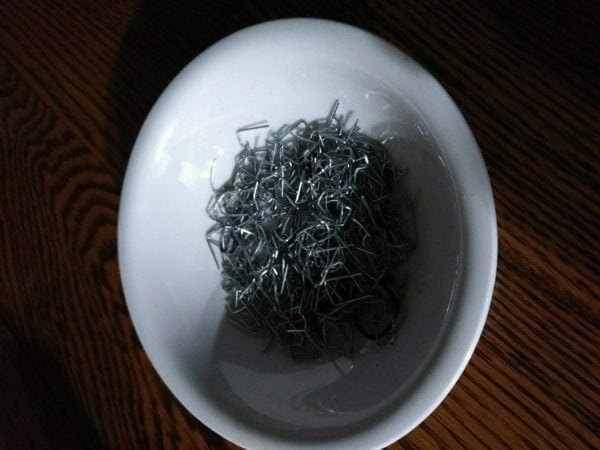
jlsr: I have started my valence redo project. Oh my, you weren’t kidding about the staples being the hard part !!
I did the smaller one from the bedroom yesterday. It took me all day! About 3 1/2 hours just pulling staples. I will post pics when I’m done. It’s going to lighten things up a bit. Our LS has the black/brown fern valances now.. But not for much longer.
All these staples were in One valance!
JohnD222: Well, the gang is all here. Who came up with this work project idea?
So I removed the screws (all have 3 except the long one across the back) and pulled down one valance just to get measurements for material. 11 feet (3.67 yards) of material that is 54 inches wide will get them all except the bedroom, 9 feet (3 yards) if you also exclude the one over the entry door.
All of the main area valances in my model year are actually in two pieces. The patterned material is fastened to 3/8 plywood, with the dark solid material fastened to 1/8 inch board, which is fastened to the 3/8 board with lots of staples. That dark material and 1/8 plywood down 1.25 to 5 inches below the patterned material, but the 1/8 plywood and the dark material run all the way to the top of the 3/8 plywood. It was simple to pry the 1/8 board away, material and all. Having done that, there is no way that I would recover in two steps – wrap it all, or read on.
While awaiting material selection and purchase, I reinstalled the valance without the 1/8 board or dark color hanging beneath the pattern material. What a huge improvement, both visually and letting more light in through the window that was partially hidden by 1/8 plywood and dark material hanging down. Removal of that section does allow just a bit of the top frame of the shade to be exposed, but much, much better any way you look at it.
Long story short. I removed all of those dark sections from all valances except the one over the entry door where it covers the white doorway frame. And threw them away, staples and all. I rehung them all, and after looking at them for 10 days, am not going to bother changing any of the patterned fabric.
If you do want to replace material, once the darker material and 1/8 plywood are out of the equation, there are not many staples in the 3/ plywood to deal with, but as I say, it looks so much better with the dark band gone, that I cannot see much room for improvement.
The bedroom is a totally different animal (valance) in my model year. The jury is still out, but my thoughts are some string lights behind the new and deeper valance design, and some lighter colored material. How did you get the bedroom valances off??