FIXING FOGGY WINDOWS

CATEGORY:  ON THE INSIDE

TOPIC: FIXING FOGGY WINDOWS
Posted:27 Jul 2018 16:38 #1
Posted By: DandK-Travelers

See Forum Post HERE
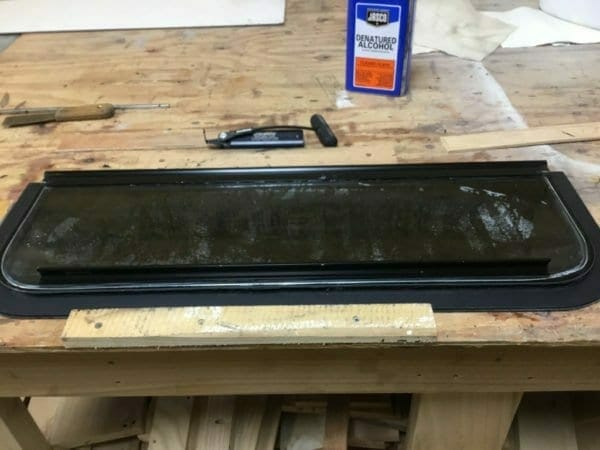
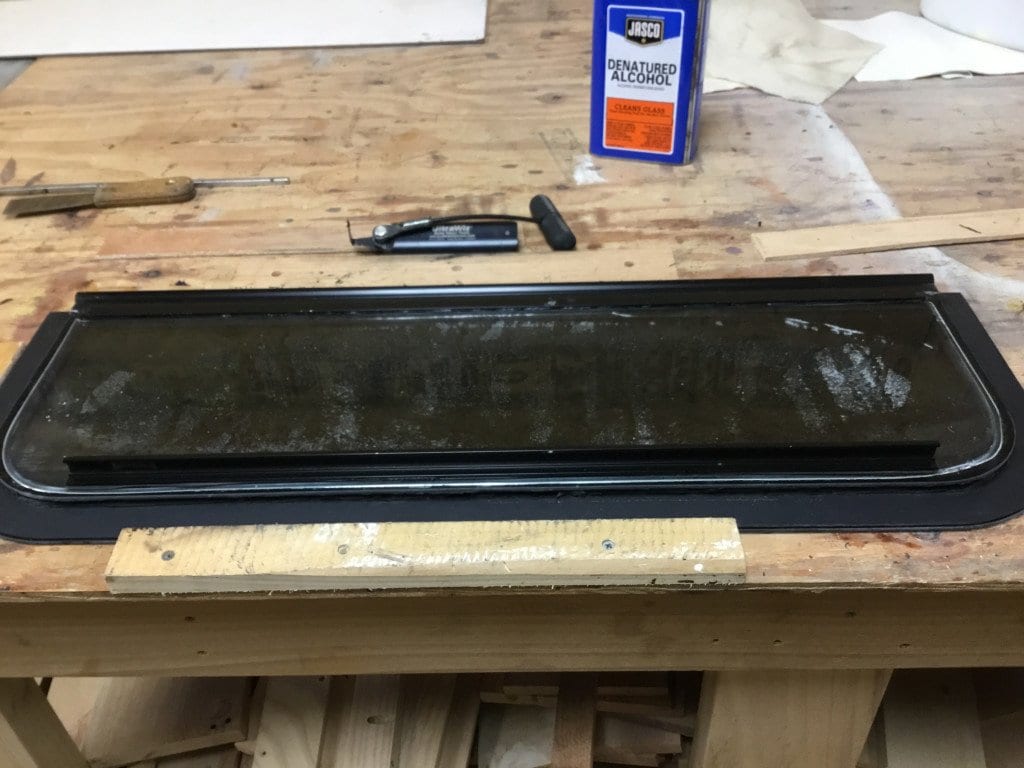
I’ve fixed about 6 windows that were foggy.  The first one I attempted to fix I used silicone, it didn’t work.  The window that is in the pictures is my first silicone fixed window. It filled with water.  

I now use, from experience; 3m single step primer, 3m urethane, denatured alcohol, acetone and 1/4” x 1/2” wide foam seal tape. I can’t find 1/4 x 1/4 inch foam tape.

Removing the window is the easy part.  Once removed I take pictures of the position of the clear glass. I’ve never found that the tinted glass is fogged, just the clear glass.  I’ve tried to remove the fogging and have not been able too.  I would just purchase a new piece of glass.  I have not found a source for the tinted glass.

There is a different method for removing the glass from a fully sealed window, not the window that is pictured.

[siteorigin_widget class=”SiteOrigin_Widgets_ImageGrid_Widget”][/siteorigin_widget]
Once I have the glass separated and cleaned I place the glass in a heating blanket.  That removes any moisture.  I heat it for about 2 hours.

After heating, I install the foam tape.  I then position the clear glass on the tinted glass.

I prime the edge of both pieces of glass.  Let dry for about 15 minutes.

Apply the urethane.  Making sure there are no gaps.

Let dry overnight,  trim and clear any urethane.

[siteorigin_widget class=”SiteOrigin_Widgets_ImageGrid_Widget”][/siteorigin_widget]
I’m fixing what I call a fully sealed window.  The double pane window is glued into the frame with urethane.  It can be difficult to separate from the frame.  I use a vibrating saw, like in the picture and a putty knife.  Hopefully, I get the pictures in the correct order.

More to come.

[siteorigin_widget class=”SiteOrigin_Widgets_ImageGrid_Widget”][/siteorigin_widget]
DandK-Travelers: Frame and tinted glass cleaned and for assembly, waiting on the clear glass I ordered.
Alloy: Some things to know when using urethane to bond glass

  • Depending on the urethane manufacture each type of substrate (Aluminum – Powder Coating – Glass) may need a separate primer.
  • Rough up the surface(s) to be bonded with a Scotch-Brite pad.
  • Using Acetone to clean up urethane that has not cured around the window affects how the urethane cures.  
  • Rubber or solid Neoprene spacer blocks are available from a place that does auto glass.
[siteorigin_widget class=”SiteOrigin_Widgets_ImageGrid_Widget”][/siteorigin_widget]

SLIDE-OUT MOTOR BOLTS AND SHAFT SUPPORT FIX

CATEGORY:  SLIDE-OUTS & COMPONENTS

TOPIC: SLIDE-OUT MOTOR BOLTS & SHAFT SUPPORT FIX
Posted: 4 Jul 2018 08:52 #277
Posted By: falconhunter

See Forum Post HERE

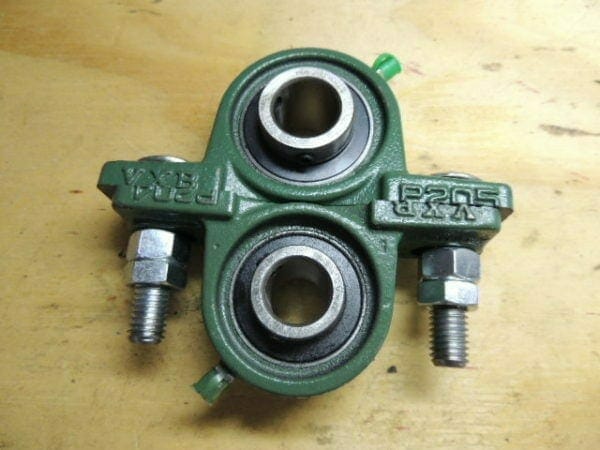
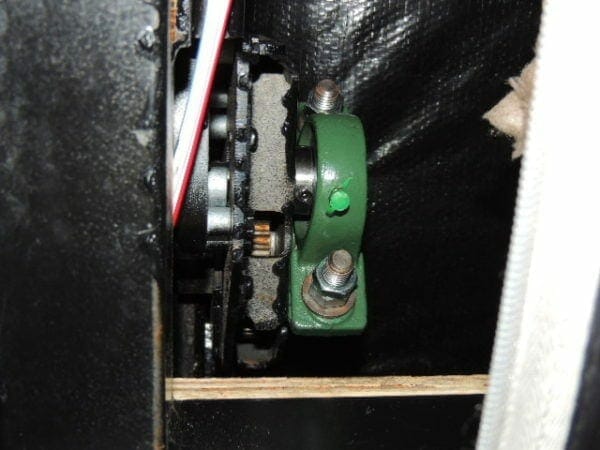
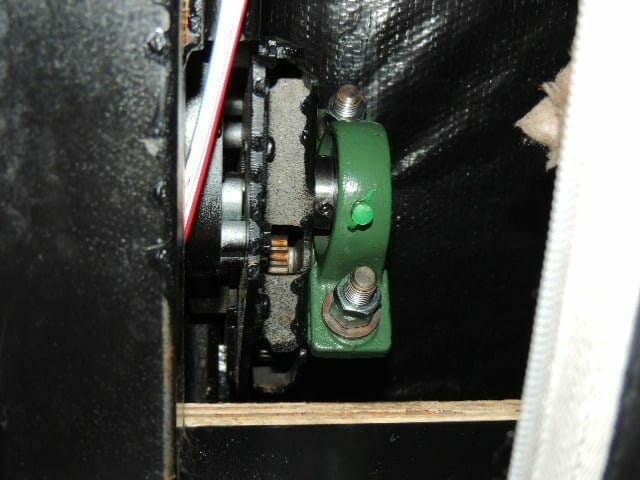
When I started this post back in 2012 I didn’t have a problem with too much end play on the shaft. My problem was loose motor bolts and seen a need for a better way to support the motor shaft. I still have my very first homemade version of this fix made from two machined down pillow block bearings on my slide with zero issues to this day. I had no idea there would be almost 10,000 views of this thread and that it would morph to what it is now. 

Morber: As an unfortunate member of the “now I have two slides chattering and balking club”, finding a repair that stays is important as we are days from full time.

I have been wanting the bearing clamp fix that we have seen here for years – it is a great band-aid but my underlying concern was it was not a perm fix. 

Thankfully Tim has taken a hard look at the whole situation with his usual analytical mind and determination to find the underlying cause and how to fix it. Not being a machinist, but a tad handy, I am going to tackle an attempt to follow a suggested repair over the next few days. Had to get some materials I’m not familiar with (see the not a machinist comment) and printing out detailed instructions. I think he is on the right track as to root cause and a perm fix – we will keep everyone updated. What bothers me is why our long slide decided to again tilt instead of staying aligned – but that is a possible different issue.


Morber: Chip – thanks to your efforts, a great fix was created. I’m jealous of those that got one. Your post also eventually got the ball rolling as to finding a root cause and a more perm fix. I think Tim is on the right track with that.  I suspect that the more perm fix will be fixing the gearbox issue he feels is the problem AND a version of your clamp.

There are two issues that seem to collide – gearbox is one, and slide tilt causing chattering. We would not be this

Read more

INVERTER INSTALL

CATEGORY:  ELECTRICAL COMPONENTS

TOPIC: INVERTER INSTALL
Posted: 22 Jul 2018 05:13 #1
Posted By: DandK-Travelers

See Forum Post HERE

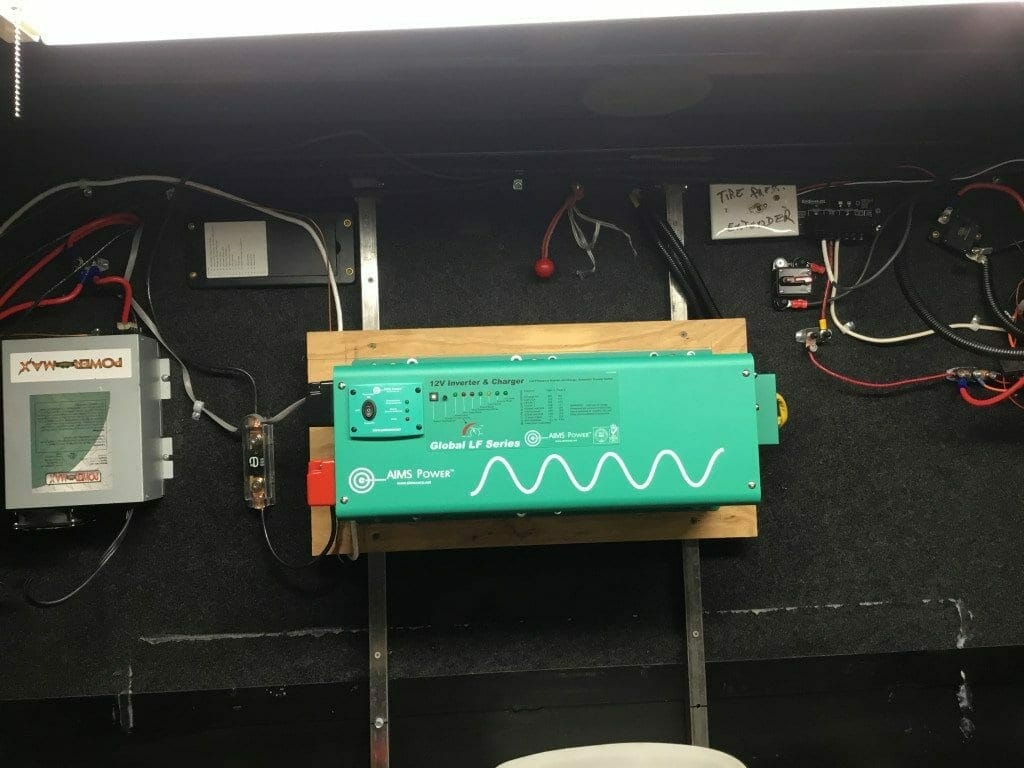
I installed an Aims 2500 watt inverter in the front storage compartment.  I had a 1500 watt inverter and upgraded to the Aims unit.  I got the idea from Timcar’s post.  I chose the Aims because of the features;

  • 2500 watt continuous
  • 7500-watt surge for 20 seconds 300% surge capability (don’t use the surge mode often)
  • AC direct connect terminal block
  • GFCI outlet
  • Marine coated and protected
  • Multi-stage smart charger 85 A
  • LCD or LED remote panel available (LED available in Dec.)
  • Thermal and load based fan
  • Low voltage recovery

Read more

error: Content is protected !!

Pkg. download step by step